


Rainbows and Hedgehogs

Recently my tenth (!) grandchild was born and I was lucky enough to have actually completed his baby quilt in time to deliver it personally when I flew to Florida for my one-week new baby visit. I have had plans on how I wanted this quilt to look for months now, and its exciting to see it finally completed! Mummy and Daddy have assured me that baby just loves his new quilt, and will get lots of use out of it.
I would like to share with you my design and sewing process that brought this lovely quilt to fruition. I really enjoyed putting this together, it was easy and quick to do, and looks fantastic when completed. To see the detailed directions, you can view the complete pattern and instructions on the Moda Bake Shop site.
The instructions call for:
- 2 Charm Packs (or 1 Charm Pack + a Fat Quarter for a total of 50 – 5 inch squares)
- 1 yard sashing fabric
- 1½ yards backing fabric
- 3/8 yard binding
The fabrics I used are these:
Charm Packs – I used the Cotton Couture Charm Pack by Michael Miller, which unfortunately is out of stock right now. We have re-ordered it, but the company hasn’t been able to tell us when we can expect more. This Charm Pack was perfect, as it had 85 squares of a wide variety of solid colors. I could choose just the colors I wanted to give the color wheel effect I was looking for, and had additional squares to spare. I could choose all the more masculine colors and not use the pinks. Fortunately, our Charm Packs page has a large assortment of Charm Packs that would work just as well instead. Take a look at the Kona New Colours, Kona Summer ’13 Palette or Kona Dusty Palette Charm Packs. Or you could use our Sew Hot’s Favourites Rainbow Fat Quarter Bundle and cut your own 5″ squares from the fabrics. This will give you a nice, bright primary colors quilt, but won’t have the subtle shading of the original colours in the Cotton Couture Charm Pack.
Sashing Fabric – Centennial Solids Playful Pool by Marcus Fabrics was my fabric choice for sashing, as it was the perfect light blue to go with all the colors, and pull it all together to give the look of a boy’s baby quilt. If you want to do a quilt for a baby girl, a pale pink or even a cream or white would look fantastic.
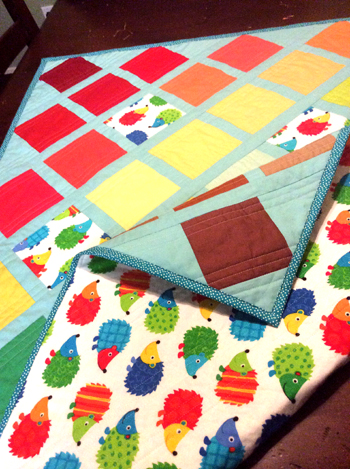
Backing Fabric – The White Hedgehogs Flannel from Timeless Treasures was actually the inspiration for this quilt. When I saw this fabric, I KNEW I had to use it in my next baby quilt. I loved the darling hedgehogs and the rainbow colors went with an assortment of fabrics. I got a bit more than required, as I knew that I wanted to place several squares on the front of the quilt, too.
Binding – I used the Garden Pindot Lagoon fabric by Michael Miller. I love the color of this fabric and think it adds the perfect final touch to the quilt.
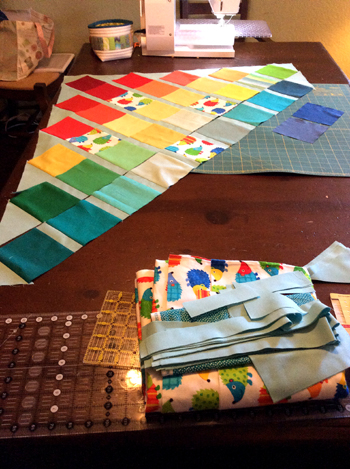
Making the quilt was pretty easy. The first step was to decide on exactly which color squares I wanted to use. I did spend several days on this, as I wanted to ge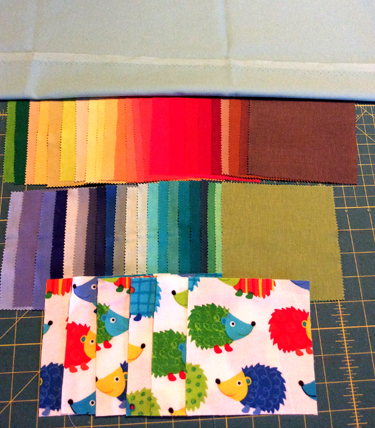 t it right. I pulled out all the acceptable “boy” colors from the Charm Pack, and then tried several different lay-outs.
After each lay-out, I photographed it with my phone and then walked away and looked at the photo the next day. It’s amazing, but by looking at it like that, areas that weren’t quite right just popped out. I would then adjust, take another picture, and look at it again the next day. I think I did this process for three days, and 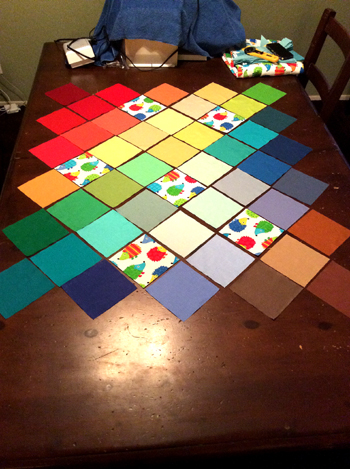 then I was finally happy with the way it looked.
Oh, by the way, the couple of striped squares that ended up in the final version of the quilt are because the artistic designer of this piece (*ahem*…that would be me) just couldn’t leave well enough alone, and HAD to pop in a couple of squares that were left over from another project because the colors just matched so perfectly and it was impossible to resist. Well, that’s the nice thing about sewing, you can adjust and personalize every project as much as you want to.
Next step was to cut out the sashing and the triangles used for t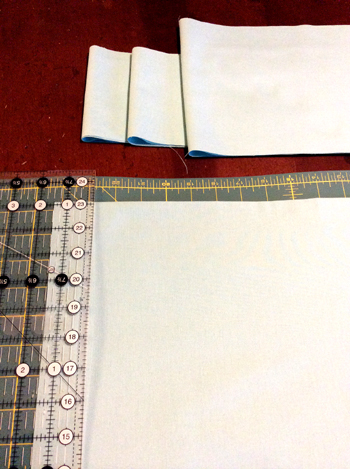 he top.
Then, starting at the “top” I started assembling the diagonal rows with alternate color blocks and light blue sashing.
Once all the rows were assembled, I sewed the color block rows onto long strips of sashing.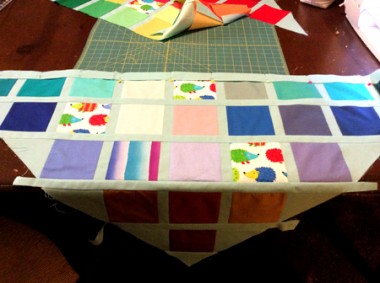
When the top was fully constructed, out came the ruler, and I squared up the top and cut off the excess sashing.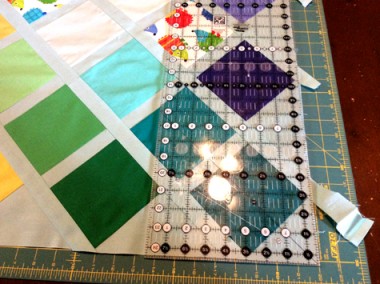
I was extremely happy with the top! It turned out just as I imagined.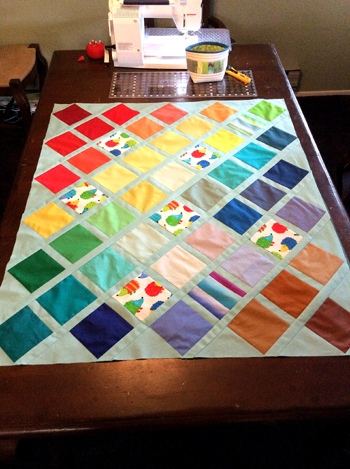
I had decided I was going to use fusible batting, so the next step was to layer the back, fusible batting and the top. Using my iron carefully, I pressed the quilt sandwich so all layers fused together.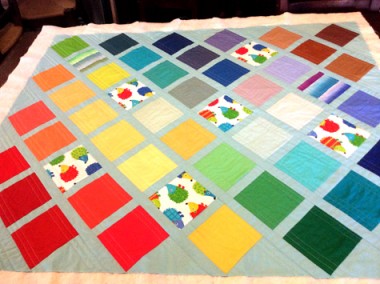
Then it was time to quilt! I used Aurifil 40 wt white thread, and keeping with the diagonal theme of the quilt, quilted channels diagonally. I loved how this looked and decided not to quilt in the other direction, too.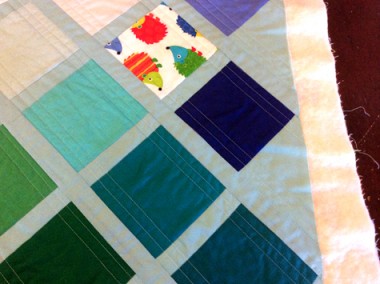
Next step was to square up the quilt and trim off the edges.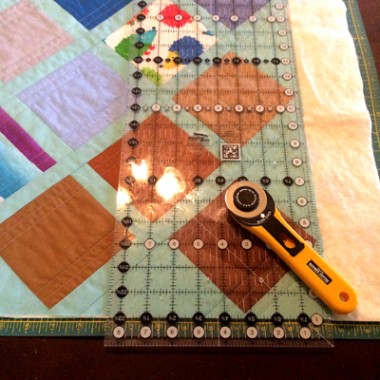
I added the Lagoon Dot binding – and was done! I had a great time making this simple little quilt, and I know it will get lots of love!